
Please note: we are updating our website every day with new content and services offered. If you are unsure about anything, please contact us.
Fabricate a custom manifold or downpipe heat shield with 0.1mm 304 stainless and 4mm insulation rated to 980°C continuously. Includes 2 logo plates.
£169.99
Dispatched within 3-4 days
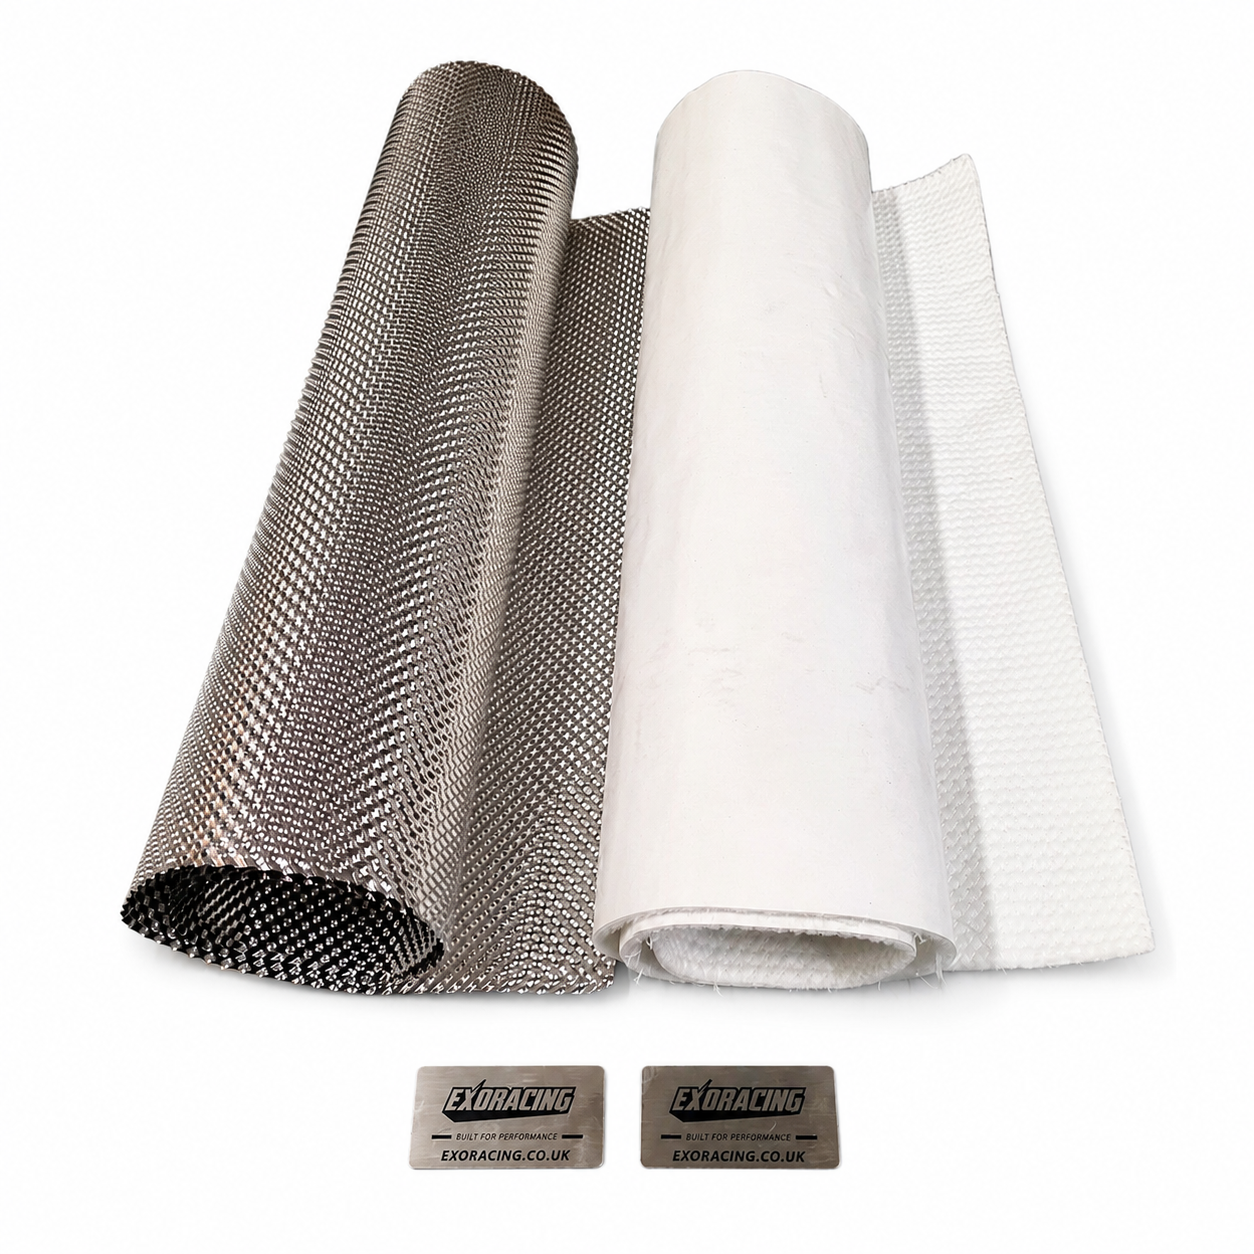
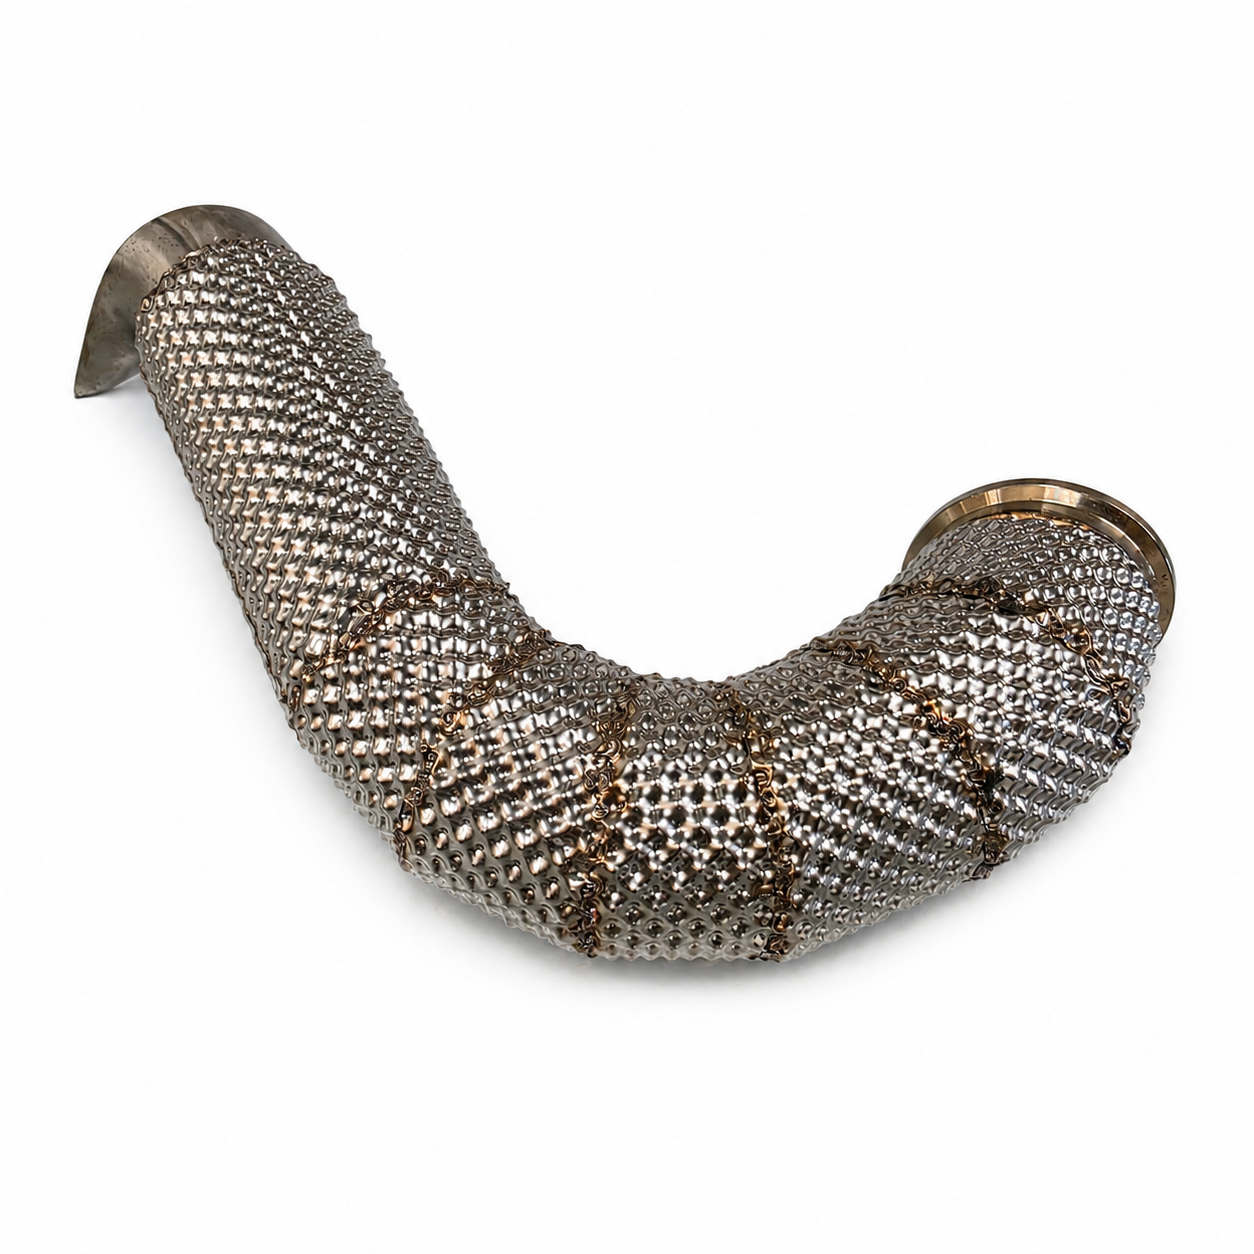
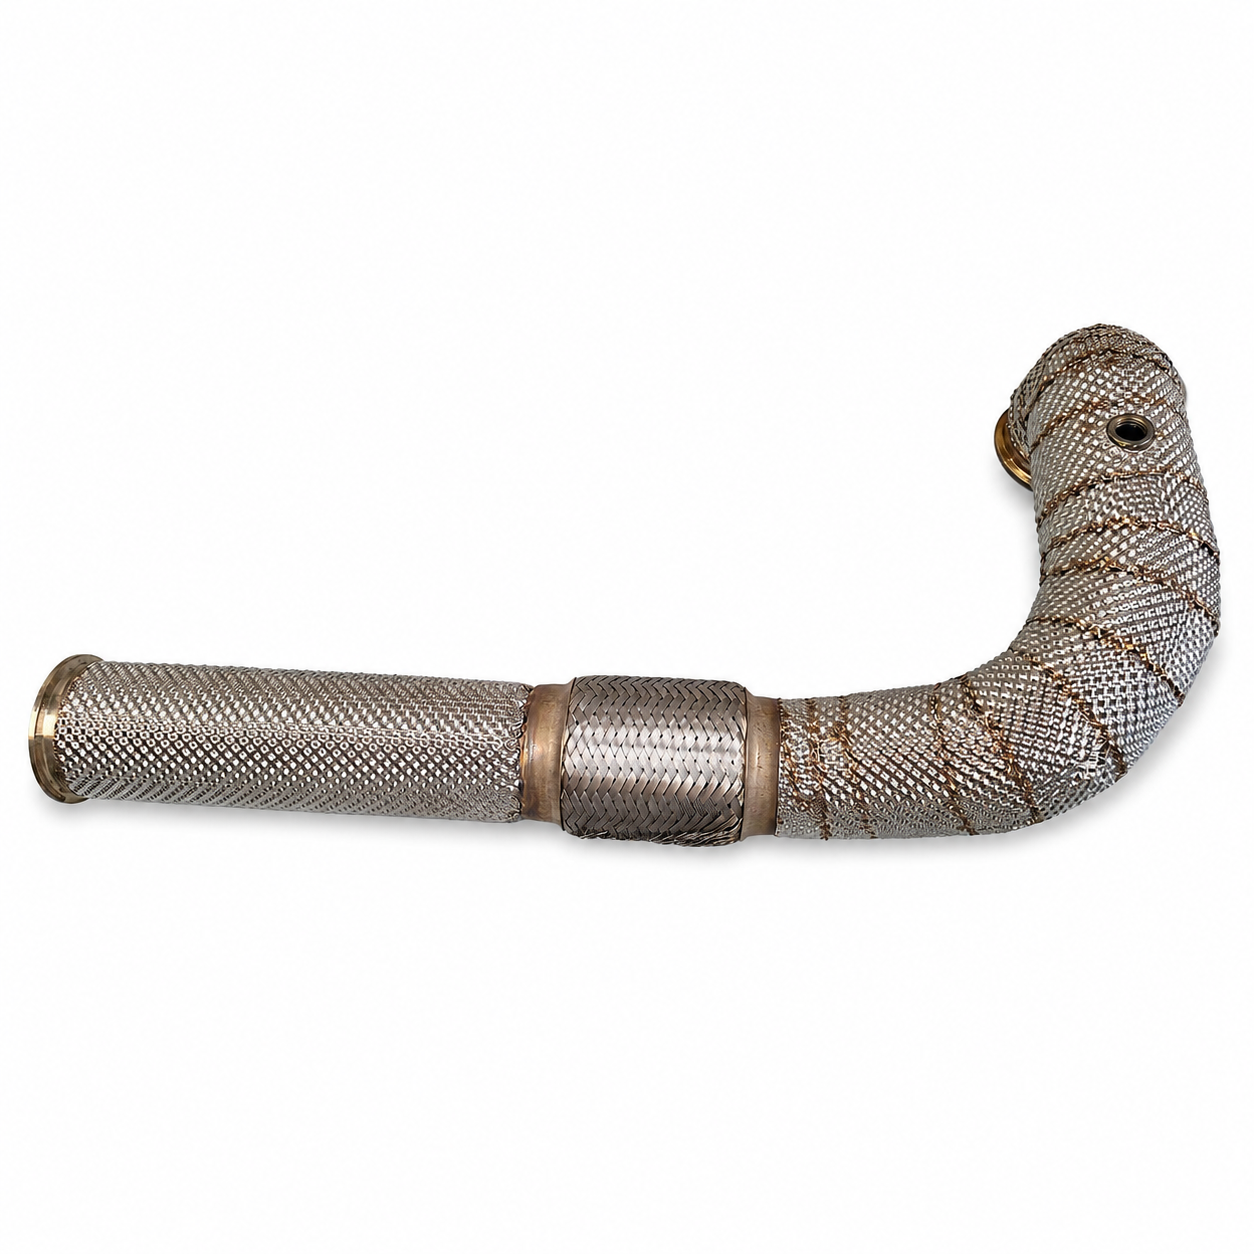
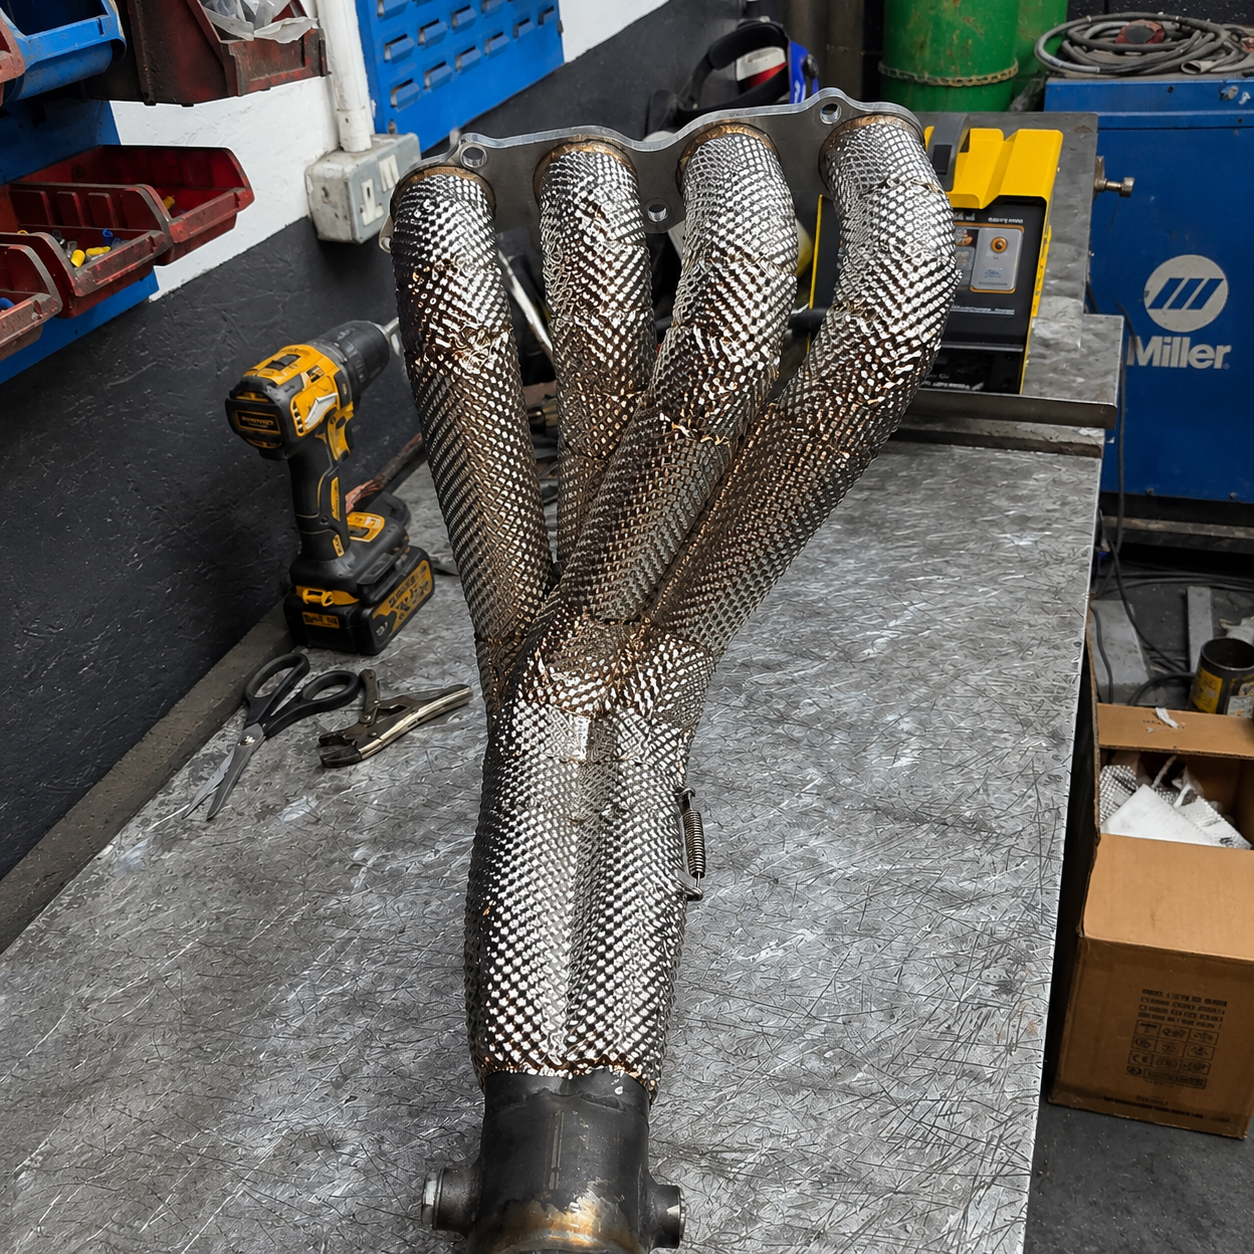
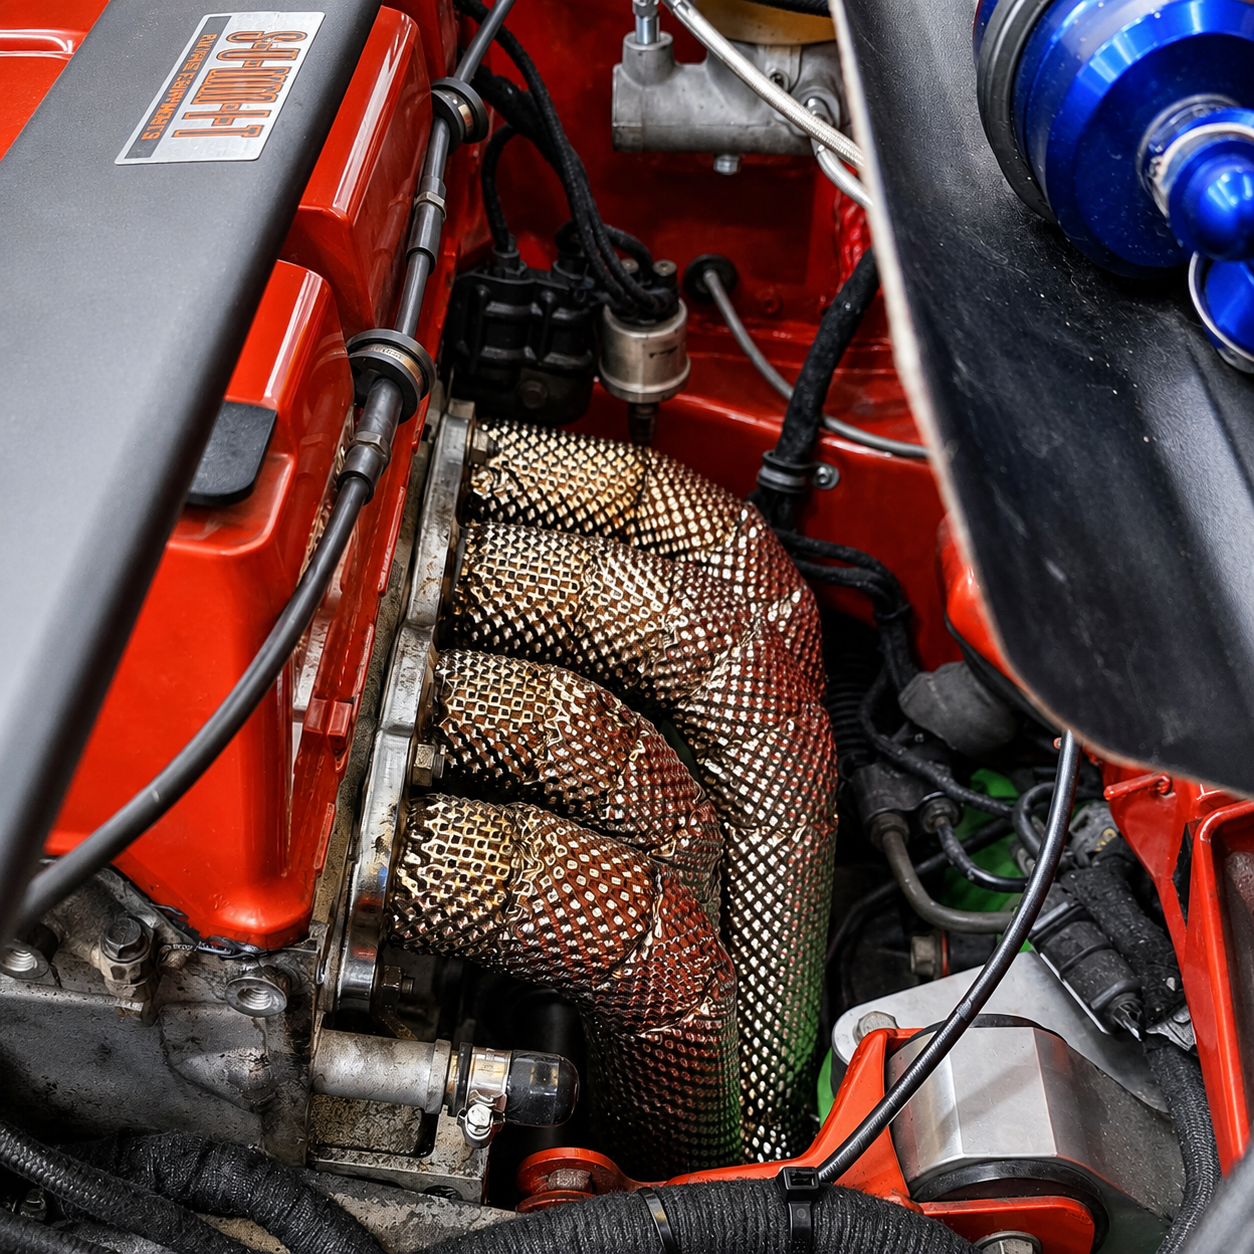
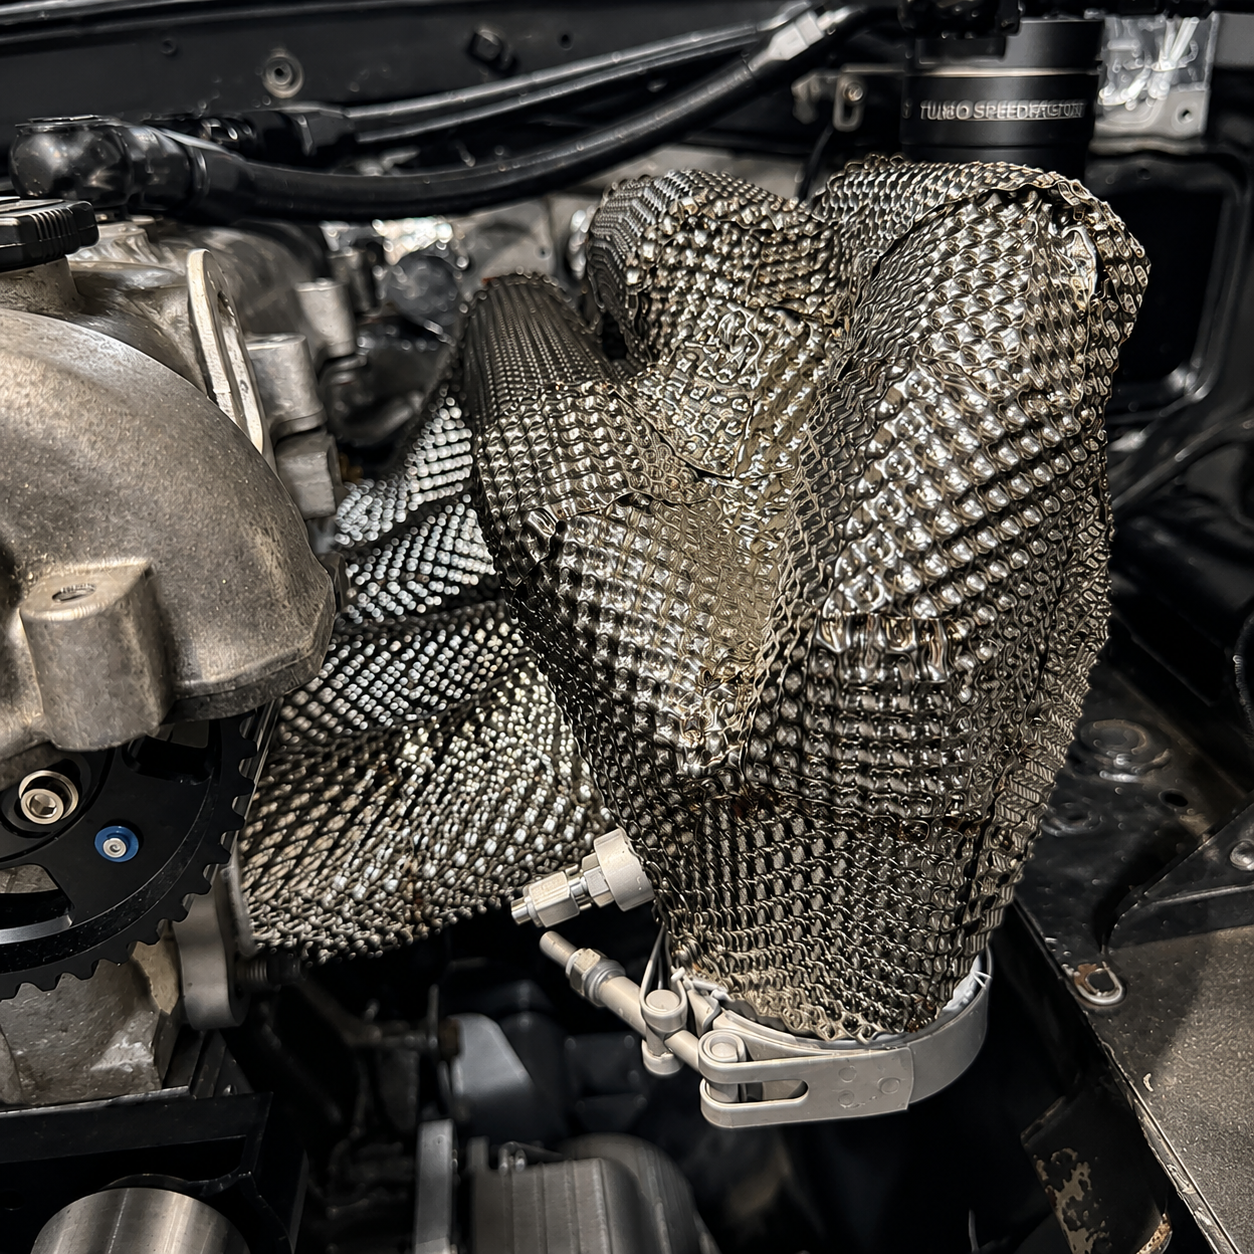
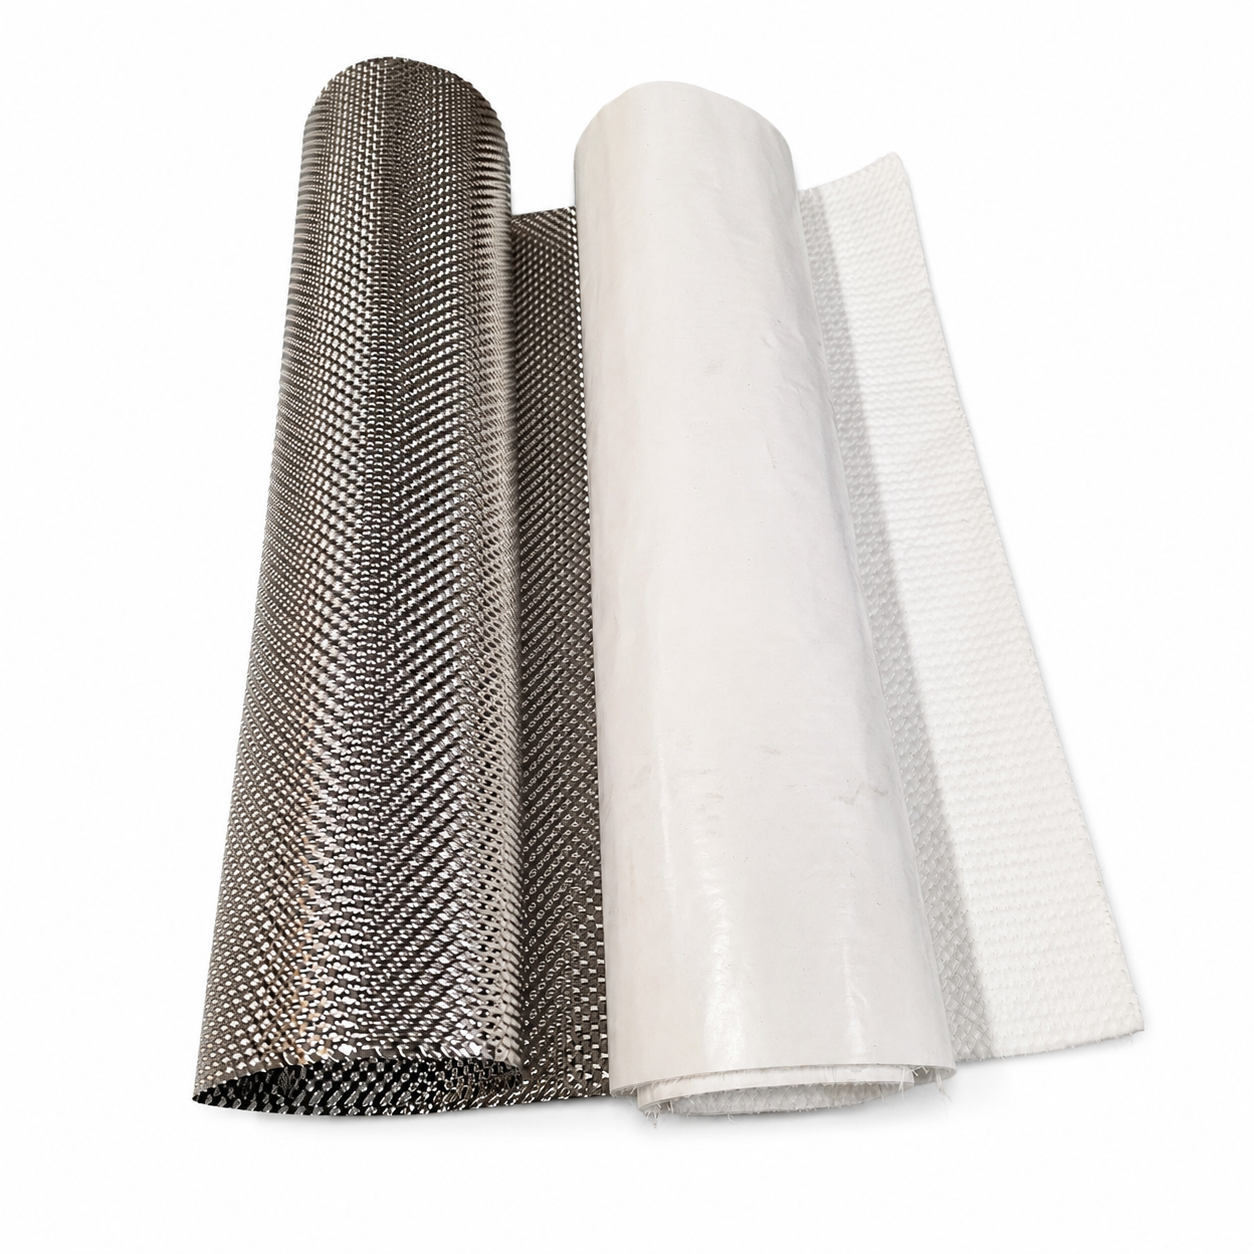
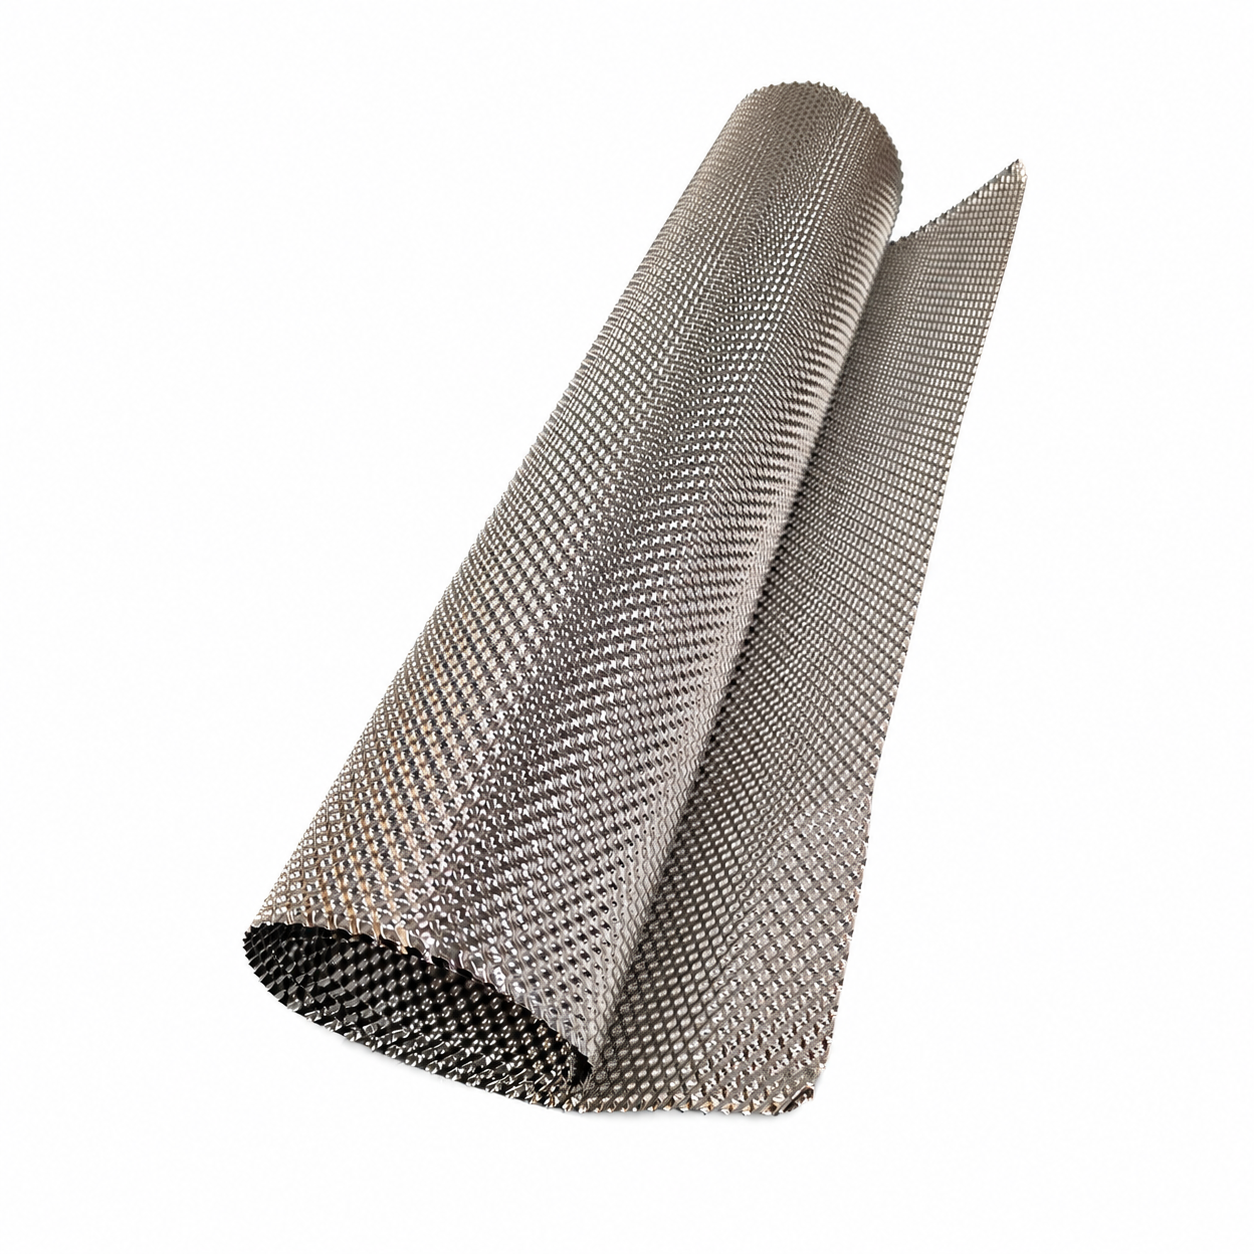
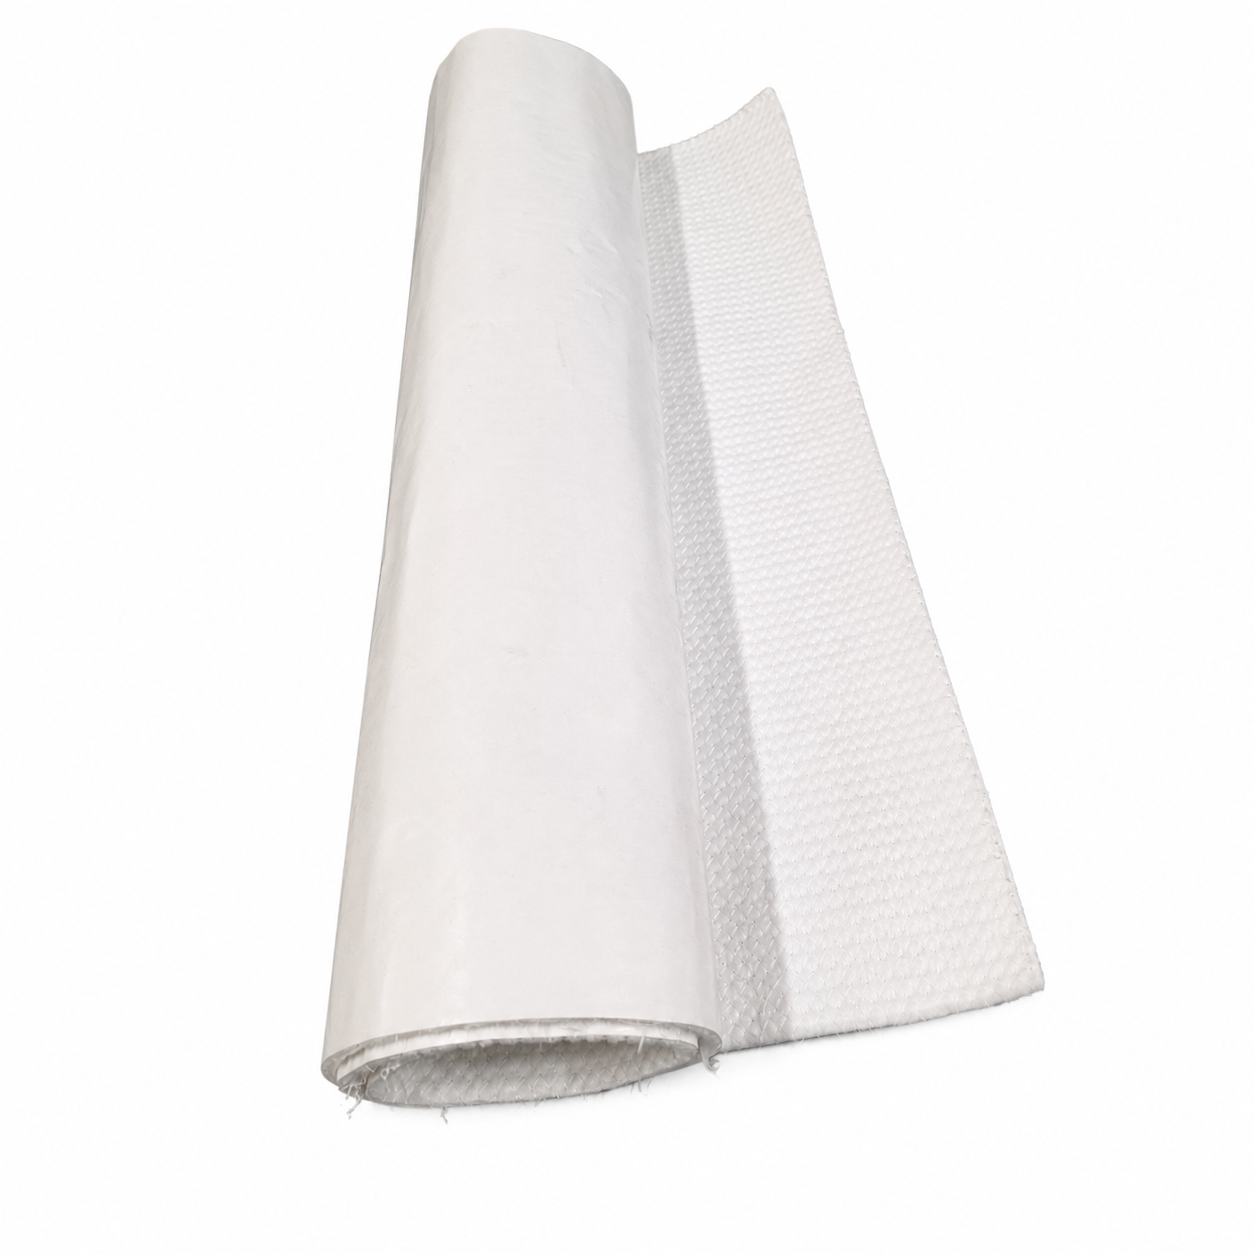
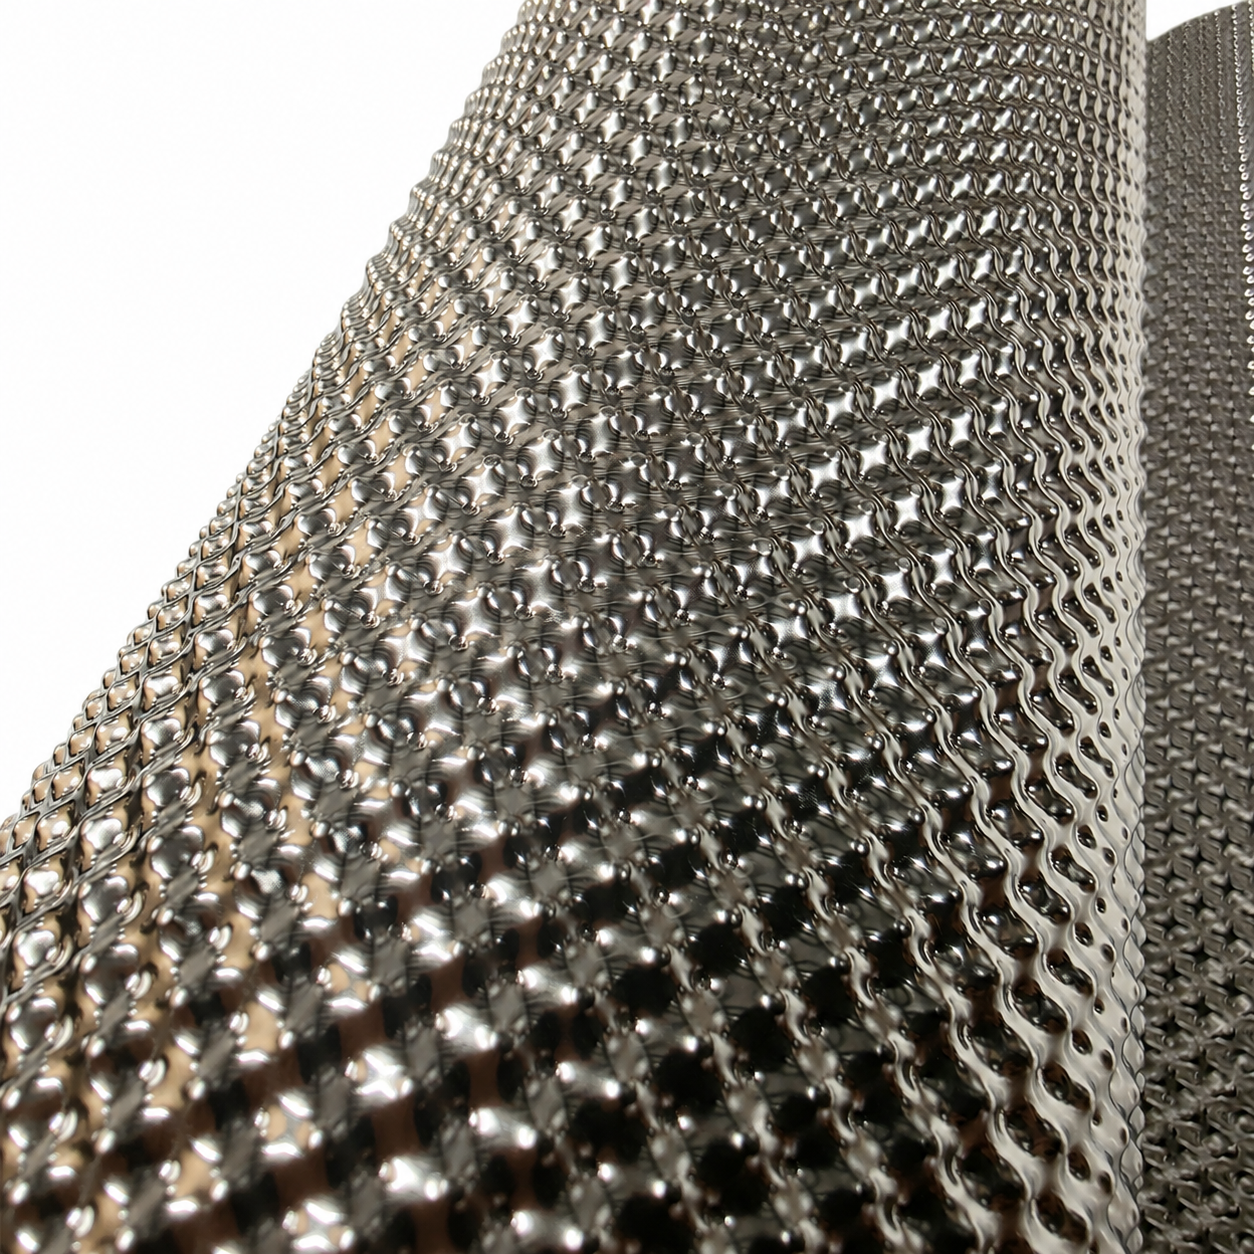
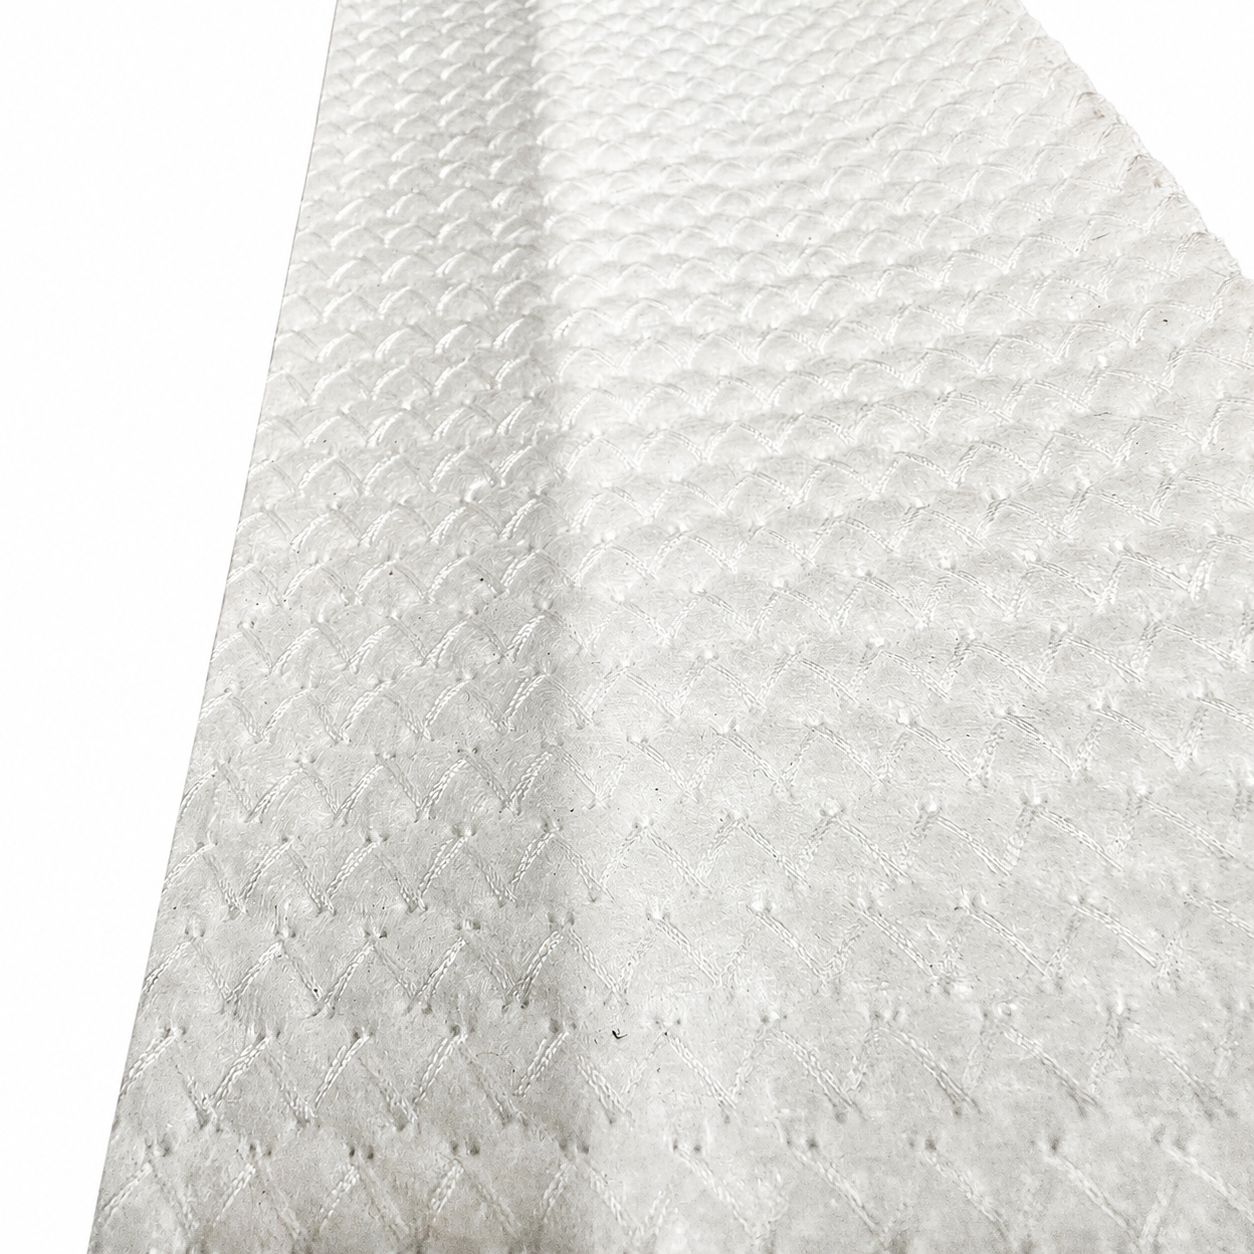
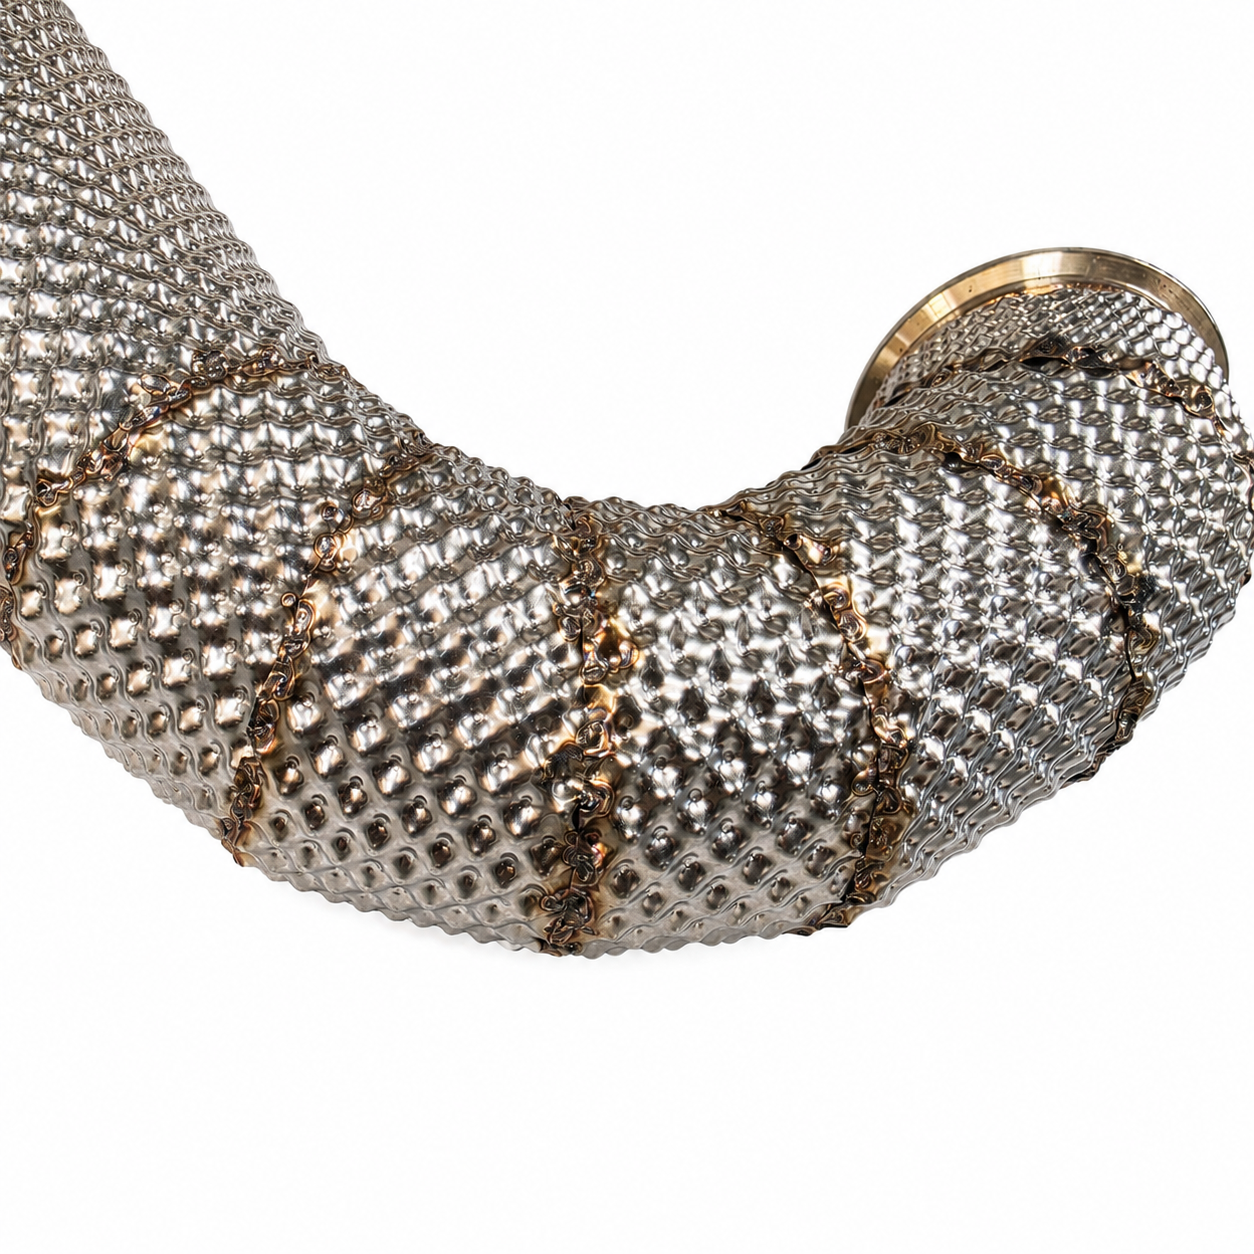
The Exoracing DIY Weldable Exhaust Heat Shield Kit gives experienced DIY fabricators and professional installers the materials needed to create close-fitting thermal protection around an exhaust manifold, turbo manifold, downpipe, catalytic converter or custom exhaust section.
The kit combines a 1000mm x 600mm sheet of embossed 0.1mm 304 stainless steel with a matching 1000mm x 600mm sheet of 4mm adhesive-backed high-temperature thermal insulation. The manufacturer rates the insulation for continuous exposure to temperatures up to 980°C, making it suitable for direct installation around high-temperature exhaust components.
Important: this is a universal fabrication kit rather than a pre-shaped or vehicle-specific heat shield. Measure the complete area you want to cover and allow additional material for shaping, trimming and approximately 20mm of stainless overlap at every welded seam.
Watch the complete workshop process, from creating the template and applying the insulation to forming and spot welding the stainless outer shield.
This kit is designed for experienced home fabricators who are comfortable creating templates, cutting thin stainless steel and using a resistance spot welder. It allows capable DIY installers to build their own custom heat shield without paying a specialist workshop to complete the full fabrication.
It is also designed for professional exhaust, motorsport and performance workshops that want to offer customers a premium fabricated alternative to conventional exhaust wrap. The embossed stainless outer skin produces a cleaner finished appearance while protecting and containing the thermal insulation underneath.
This is not a beginner-level installation or a first metalworking project. Professional installation is recommended if you are not confident in measuring, cutting, forming or spot welding thin stainless steel.
Exhaust manifolds, downpipes and catalytic converters can produce enough radiant heat to damage nearby wiring, coolant hoses, fuel lines, brake components, bodywork and other heat-sensitive parts. Heat can also transfer through the bulkhead or floor and increase temperatures inside the vehicle.
This kit allows the thermal insulation and stainless outer skin to be shaped around the actual exhaust component rather than relying on a generic flat shield. The 4mm insulation helps contain heat closer to its source, while the embossed 304 stainless steel outer layer protects the insulation and creates a lightweight fabricated finish.
The manufacturer rates the thermal insulation for continuous exposure to temperatures up to 980°C. The completed stainless exterior can also be cleaned after installation and helps protect the insulation from dirt, moisture and demanding road or motorsport conditions.
Best fitted: while the manifold, downpipe or exhaust section is already removed during a turbo conversion, engine build, exhaust fabrication job or major repair.
Exhaust wrap remains a practical option where installation speed, simplicity and lower cost are the main priorities. However, it does not always provide the appearance, cleanability, or environmental protection wanted on a high-end engine bay, motorsport vehicle or professionally fabricated exhaust system.
The Exoracing kit encloses the thermal insulation beneath a lightweight embossed stainless outer skin. This creates a more engineered finish and helps protect the insulation from contamination and harsh operating conditions.
The kit should not be treated as a universal replacement for exhaust wrap. The right choice depends on the component, available space, installer experience, budget and desired finish. This weldable kit is intended for installations where a close-fitting fabricated shield and premium stainless appearance are the priority.
The supplied materials can be cut and formed around exhaust manifolds, turbo manifolds, exhaust joints, downpipes, catalytic converters, wastegate pipework and suitable custom exhaust sections.
It is particularly useful where hot exhaust components sit close to wiring, coolant hoses, fuel lines, brake lines, steering components, bulkheads, floors or other heat-sensitive parts.
The kit is suitable for race, rally, track and fast-road applications, as well as high-end road and show builds where a fabricated stainless finish is preferred over exposed exhaust wrap.
Complex shapes may require multiple stainless strips, separate insulation sections and additional overlapping seams. Plan every section and seam before cutting the supplied materials.
Cutting tools, forming tools, personal protective equipment and the resistance spot welder are not included.
The 4mm insulation is cut into separate sections and applied directly to the clean and dry exhaust component. Using multiple sections allows the material to follow runners, bends and other complex shapes more accurately than attempting to install it as one complete piece.
The embossed stainless sheet is then cut into strips or shaped sections and formed over the insulation. Each stainless section should overlap the next by approximately 20mm before being resistance spot welded to itself.
The insulation should stop slightly short of every planned stainless seam. This allows the two stainless layers to be pressed flat together without the insulation creating a raised section underneath the overlap.
A flat stainless-to-stainless overlap helps minimise lifting gaps where radiant heat could escape or moisture could reach the insulation. Position the welds approximately 50mm to 80mm apart, using closer spacing around curves or anywhere the stainless wants to lift.
The stainless outer layer can be fabricated as a retained clamshell-style shield where the shape of the component allows it. However, the insulation is applied directly to the heat source in separate sections and is not designed to be removed and reused as a complete clamshell.
The main stainless seams are welded to themselves. Where additional retention is required, small tack welds can be added around the ends of the shield. Do not continue the shield directly against an exhaust flange. Leave a clearance gap of a few millimetres between the end of the shield and the flange.
Installation requires a suitable battery-powered resistance spot welder, metal-cutting tools, card for creating templates, a marker pen, suitable forming tools, degreasing products, cut-resistant gloves and eye protection.
We successfully joined the supplied 0.1mm stainless using a low-cost battery-powered spot welder during development. However, we recommend using a mid-range or professional-quality welder to produce stronger and more consistent welds.
Installation difficulty: advanced DIY fabrication or professional installation.
For additional workshop photographs, practical fabrication advice and a detailed walkthrough, read our complete weldable exhaust heat shield installation guide.
Plan the complete installation and create a card template before cutting either of the supplied sheets. Remove the exhaust component from the vehicle wherever practical.
Welder setup: welder output, pulse duration, electrode condition and applied pressure vary between machines. There is no single setting suitable for every welder. Always test your machine on a small unused section of the supplied stainless before welding the finished shield.
Surface preparation: the surface must be completely oil-free and dry before the adhesive-backed insulation is applied. Compressed air or controlled heat from a suitable heat gun can help remove trapped moisture. Never use an open flame where flammable cleaning-product residue or vapour may still be present.
| Specification | Details |
| Product Type | Universal weldable exhaust heat shield fabrication kit |
| Outer Material | Embossed 304 stainless steel |
| Stainless Sheet Size | 1000mm x 600mm |
| Stainless Thickness | 0.1mm |
| Insulation Material | Adhesive-backed high-temperature thermal insulation |
| Insulation Sheet Size | 1000mm x 600mm |
| Insulation Thickness | 4mm |
| Continuous Temperature Rating | Manufacturer-rated for continuous exposure up to 980°C |
| Recommended Stainless Overlap | Approximately 20mm |
| Recommended Weld Spacing | Approximately 50mm to 80mm, with closer spacing where required |
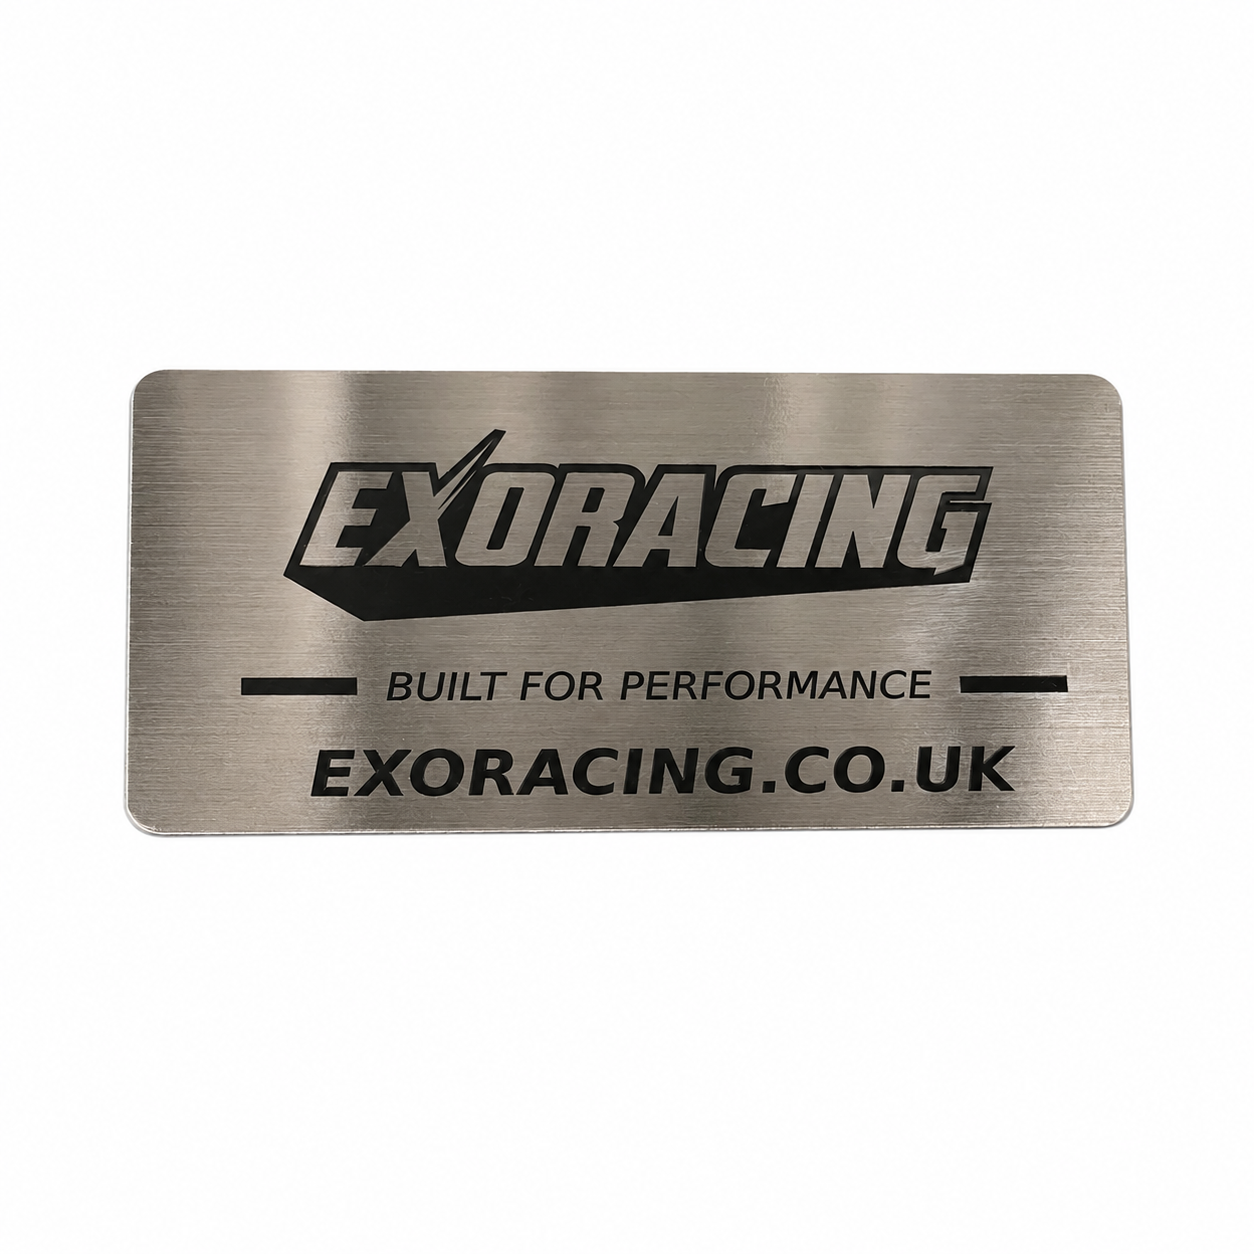
| Logo Plates | 2 x brushed stainless steel Exoracing logo plates |
| Logo Plate Installation | Four spot welds per plate, with one tack at each corner |
| Outer Finish | Washable embossed stainless steel |
| Installation Method | Cut, form and resistance spot weld |
| Fitment | Universal fabrication product. Measure before ordering. |
| Installation Difficulty | Advanced DIY or professional fabrication |
The manufacturer rates the high-temperature insulation for continuous exposure up to 980°C. No separate maximum short-duration figure is currently being advertised.
Yes, but it is designed for experienced DIY fabricators rather than complete beginners. You should be comfortable creating templates, cutting thin stainless steel, forming metal around curved components and using a resistance spot welder.
Yes. The large-format materials allow professional exhaust, fabrication and performance workshops to offer customers a custom stainless heat-management solution and a premium alternative to conventional exhaust wrap.
The main stainless seams are created by overlapping the stainless sections by approximately 20mm and spot welding the stainless to itself. Small retaining tacks can also be added around the ends where required.
The stainless outer layer can be fabricated as a retained clamshell-style cover where the shape of the component allows it. The insulation must still be cut into sections and applied directly to the heat source.
Finishing the insulation slightly short of each seam allows the overlapping stainless layers to be pressed flat together. This helps minimise raised areas and open gaps where heat could escape or moisture could reach the insulation.
A resistance spot welder capable of joining two layers of 0.1mm 304 stainless steel is required. We successfully tested the material using a low-cost battery-powered welder, but recommend a mid-range or professional-quality machine for stronger and more consistent welds.
As a starting point, position the welds approximately 50mm to 80mm apart. Use closer spacing around curves or anywhere the stainless wants to lift and create a visible gap.
The adhesive backing makes the insulation easier to position directly against the exhaust component during fabrication. Remove the entire release liner before applying each section. The formed and welded stainless outer layer provides the final mechanical retention.
Yes. Once the exhaust has cooled completely, the stainless exterior can be cleaned more easily than exposed insulation or conventional exhaust wrap. Avoid cleaning products or methods that could damage the stainless, seams or insulation underneath.
Both supplied sheets measure 1000mm x 600mm, but the amount required depends on the size and complexity of the component. Measure the complete area and allow extra material for curves, trimming and approximately 20mm of overlap at every stainless seam.
Retaining more heat within the exhaust system may help preserve exhaust-gas energy and velocity. However, the actual effect depends on the engine, exhaust design and installation. This kit is sold primarily for heat management, and no specific power or exhaust-flow increase is guaranteed.
Position the plates on suitable visible sections of the completed shield and secure each plate using four spot welds, with one tack at each corner.
Removing the component is strongly recommended. This improves access and accuracy while reducing the risk of cutting or welding near fuel lines, wiring, batteries, flammable vapour or other combustible materials.
Gloves are essential: do not handle or test-fit the stainless sheet with bare hands. Even uncut sheet edges can be sharp enough to cause injury.
Professional installation is recommended if you are not completely confident completing the fabrication safely.
Official product information supplied by Exoracing.